Together with a group of friends, I spent the past week in a large house in the North of France. Right in the back of our garden was this beautiful wood-fired brick oven and since nothing baked in a conventional oven even comes close to the sublimely smoky taste of a pizza baked on a couple of sizzling hot tiles, we all agreed a pizza party was in order. For me, and everyone else, this was the first time making pizzas in a traditional oven and I had so much fun I definitely hope it won’t be the last. Let me show you how we went about it.

The Oven:
The most important thing is getting your oven hot enough. This means lighting the fire about 3 hours before the first pizza goes in. About 30 minutes before you start baking, the wood should be shoved to one side. Make sure the flames don’t go out. This method should give relatively even heat distribution on both sides (top and bottom).

Veggies like courgettes and red peppers can be roasted in the fire while you wait for the oven to get up to temperature.
Sauce:
Ingredients for sauce for about 18 pizzas:
3 400g cans of chopped tomatoes in tomato juice
2-3 tbsp of concentrated tomato puree
4 onions, finely chopped
3 cloves of garlic, crushed or finely chopped
dried oregano
salt & pepper
olive oil

- Sweat the onions and garlic in a layer of olive oil until soft and translucent.
- Add oregano and tomato puree and fry for a bit longer.
- Add the canned tomatoes and leave uncovered on low heat for a few hours. You’ll end up with a lovely full-bodied sauce.
The dough:
NB: we accidentally bought baking powder instead of yeast, so our pizza crust wasn’t exactly what we had in mind. It was still absolutely delicious, but our lack of French reading skills meant our pizzas were crispy and flat rather than light and airy. However, if you follow this recipe and use yeast you should get fabulous results.
For 6 (x 3= 18 medium pizzas)
650 g (about 2 kg) white flour (ideally 00 flour or strong white flour, but regular will do)
7 g (21 g) sachet of dried yeast
2 tsp (6 tsp) salt
25 ml (75 ml) olive oil
50 ml (150 ml) warm milk
325 ml (975 ml) warm water
- Mix flour salt and yeast
- Add olive oil and milk
- Gradually add water to form a soft dough
- Knead for 5 minutes
- Let it rise for 1 1/2 hours in a clean bowl covered with a damp tea towel until doubled in size (obviously this didn’t happen when we used baking powder, but with yeast you should be fine).
- Knead until smooth, roll into ball and let it rise for another 30 minutes to 1 hour.
- Divide the dough into 6 (or 18!) balls.

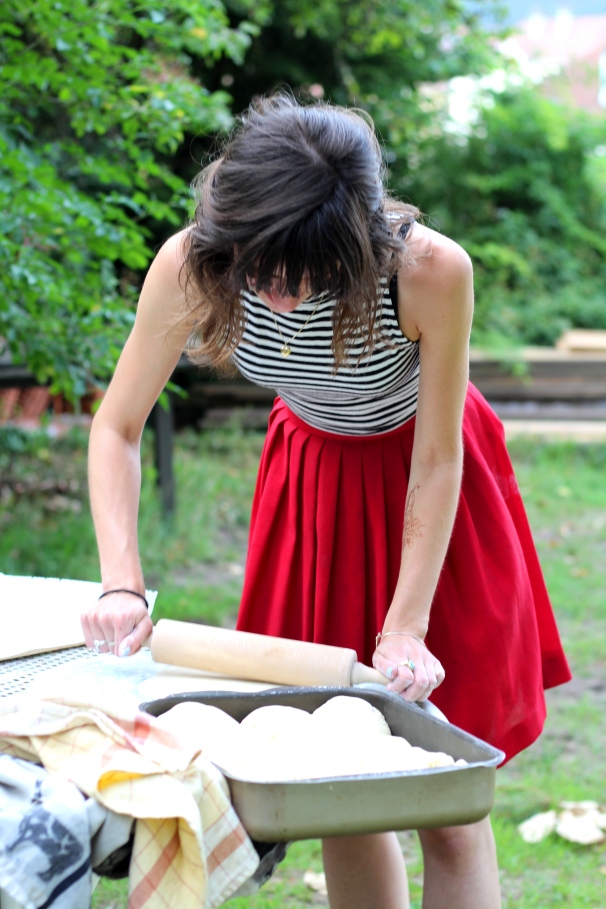
Tending the pizza rolling station with my friend Chris.
Making pizzas:
Now it’s time to get your rolling station ready. Roll each ball of dough out on a sheet of baking paper dusted with a generous amount of flour and cover with a few spoonfuls of tomato sauce.

Our tiny test pizza.
Starting with a simple pizza to practise your skills is always a good idea. Carefully place the pizza on the pizza peel and transfer it to the middle of the oven. To prevent the pizza from sticking to the peel, dust the peel with flour. Each pizza should only take about 5 minutes and should be turned a couple of times to brown evenly on all sides. Your pizza is done when the cheese has melted and the crust is brown and crispy.

Toppings:
We used:
- artichokes
- sliced onions
- flame roasted peppers and courgettes
- tuna
- marinated anchovies
- mozzarella
- blue cheese
- tomato slices
- cooked ham
- pineapple
Tip: try not to put too many toppings on your pizza: less is more.

Weighed down with delicious toppings, some pizzas refused to let go of the baking paper, but fortunately this isn’t that much of a problem.

Even this pizza, which tore apart as it was put in the oven, could be transformed into an improvised calzone.

Posing with my pizza. In the heat and excitement my face had taken on an appropriate shade of tomato red.
The great thing about using the wood-fired oven with a group of people is that making dinner becomes a shared adventure.

My pizza: a delicious mix of mozzarella, blue cheese, artichoke hearts and tomato slices.
Some people can make the sauce and the dough, others can prepare the toppings and a third group can tend to the fire. Eating something you’ve created together tastes very, very good. Especially if you create something as tasty as these pizzas.
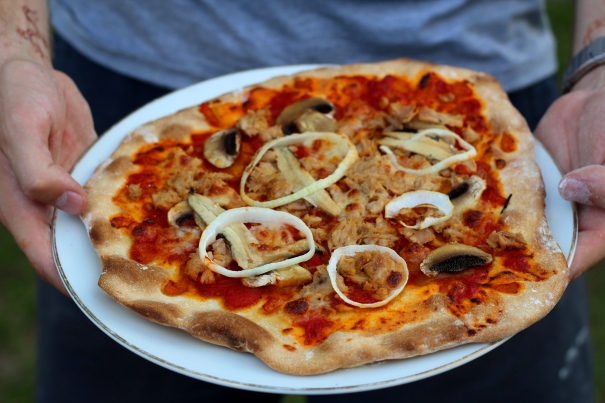
Pim’s pizza: tuna, anchovies, onion rings and sliced mushrooms.

What a lovely post. Your outfit is too cute as well!
LikeLiked by 1 person
Thank you so much, Ro! 🙂
LikeLiked by 1 person
You said it well. 🍓
LikeLiked by 1 person
Thanks 🙂 !
LikeLiked by 1 person
Great experience, Eli ! And it’s nice to see your face once in a while too, especially when it matches the color of the food you make (well, you said it !). I’m sure your pizzas tasted amazing, the regular one and the calzone-like one!
LikeLiked by 2 people
Haha, yeah, not the most charming picture of me ever, but I’m keeping it real ;). And it was so much fun and really tasty. Totally wish I had my own garden with my own pizza/ bread oven.
LikeLiked by 1 person
Keeping it real is the best, especially in this blogging world where so many bloggers calculate every picture and every “natural” arrangement around themselves or their dishes. I think you look lovely, and you surely can cook, therefore it shows us the best of yourself AND of your cooking experiments! My husband and I often say that we would have loved owning such an oven too, but we have no yard and are living in an apartment, which is definitely not suitable for such a thing 🙂 Maybe someday!
LikeLiked by 1 person
You are too kind, Sophie! And same here: we live in an apartment with no garden or balcony, but owning a place with a garden (to grow veggies in and maybe also have a wood oven) is definitely my dream for the future.
LikeLiked by 1 person